Until now I’ve been using a service to set up separate environments to connect to my clients. The multitude of VPN software can mess with my machine so I prefer to keep them separate. Lately I’ve had a lot of challenges with the service, and some down time along with it. I’ve been wanting to set up Hyper-V on my machine and this was a good excuse. Thank you to John White for getting me started and answering my myriad of questions.
Here are the steps to setting up Hyper-V on your machine and creating your first VM.
- Enable Hyper-V on your machine. Enable virtualization in your BIOS if necessary
- Ensure that you have an active Hyper-V switch that can connect to external networks. Pin to taskbar
- Create a new VM in a separate (external disk?) location. Use a new disk, if possible, allocate all space
- Install Windows 8.1 with Service Pack 1 (64 bit) using ISO file
- Sign in to the VM using your Windows Live credentials.
- Disable One Drive replication unless you really want it
- Install Office and any other software you require
Enable Hyper-V on your machine
In order to set up a virtual machine on your computer you need to enable Hyper-V. You can do that in the Control Panel->Programs->Programs and Features->Turn Windows features on or off. You will want to check off both the Hyper-V Management Tools and Hyper-V Platform.
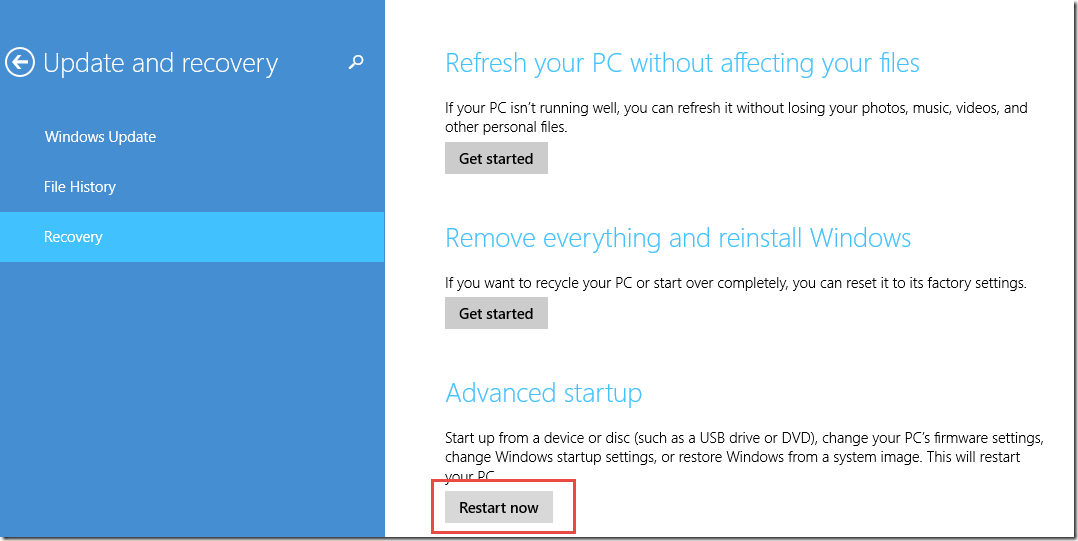
If Hyper-V platform is greyed out, you will need to enable virtualization in your BIOS settings. I have blogged the steps here. You can go back and enable Hyper-V on your machine if you have not already done so.
Ensure that you have an active Hyper-V switch that can connect to external networks. Pin to taskbar
I’ve set my Hyper-V switch up as a Wired Connection, as that is my set up is currently configured as a landline. You can create a second switch for wireless in case you need this. This is the network the VM will use. Your main machine also becomes a VM.
Search for Hyper-V Manager and open it. Pin it to your taskbar.
Click on your host machine and select Virtual Switch Manager from the Actions pane.
If a Virtual Switch doesn’t already exist you’ll want to set one up. This is what mine looks like.
Create a new VM in a separate (external disk?) location. Use a new disk, if possible, allocate all space
Ideally you’ll get an external hard drive(s) for VMs. Ideally you’ll need 128GB for the VM. Ideally you’ll want your VM to have at least 4GB of RAM. Set the start up memory to 4096, and use Dynamic Memory.
These are the screens you will encounter when you set up a new VM.
***Note: You MUST select Generation 1 if you want to be able to mount an ISO file to install the operating system
I will explain how to install the operating system next. For now select "Install an Operating system later".
Install Windows 8.1 with Service Pack 1 (64 bit) using ISO file
Right click on your newly created VM and select Settings.
Select the IDE Controller for the DVD drive and mount the ISO file by selecting "Image file" and browsing for it.
Right click on the VM in the Virtual Machines window and select Start. When you see the State change to Running, you can right click on the VM and connect to it. The installation wizard will start from the DVD drive. Follow the prompts and install Windows.
When prompted, log in to the VM using your Windows Live credentials.
Set up the VM as a new PC.
On the next screen disable One Drive replication, unless you really want it.
Now you can install Office and any other software you require. You’re all set to go with your first VM!


![image_thumb[3] image_thumb[3]](/wp-content/uploads/2015/05/image_thumb3_thumb.png)
![image_thumb[6] image_thumb[6]](/wp-content/uploads/2015/05/image_thumb6_thumb.png)
![image_thumb[7] image_thumb[7]](/wp-content/uploads/2015/05/image_thumb7_thumb.png)
![image_thumb[9] image_thumb[9]](/wp-content/uploads/2015/05/image_thumb9_thumb.png)
![image_thumb[11] image_thumb[11]](/wp-content/uploads/2015/05/image_thumb11_thumb.png)

